Laser engraving on metal can seem intimidating at first, but with the right tools and techniques, beginners can create beautiful, precise designs on a variety of metal surfaces. Here’s a beginner’s guide to get you started.
Understand the Basics of Laser Engraving
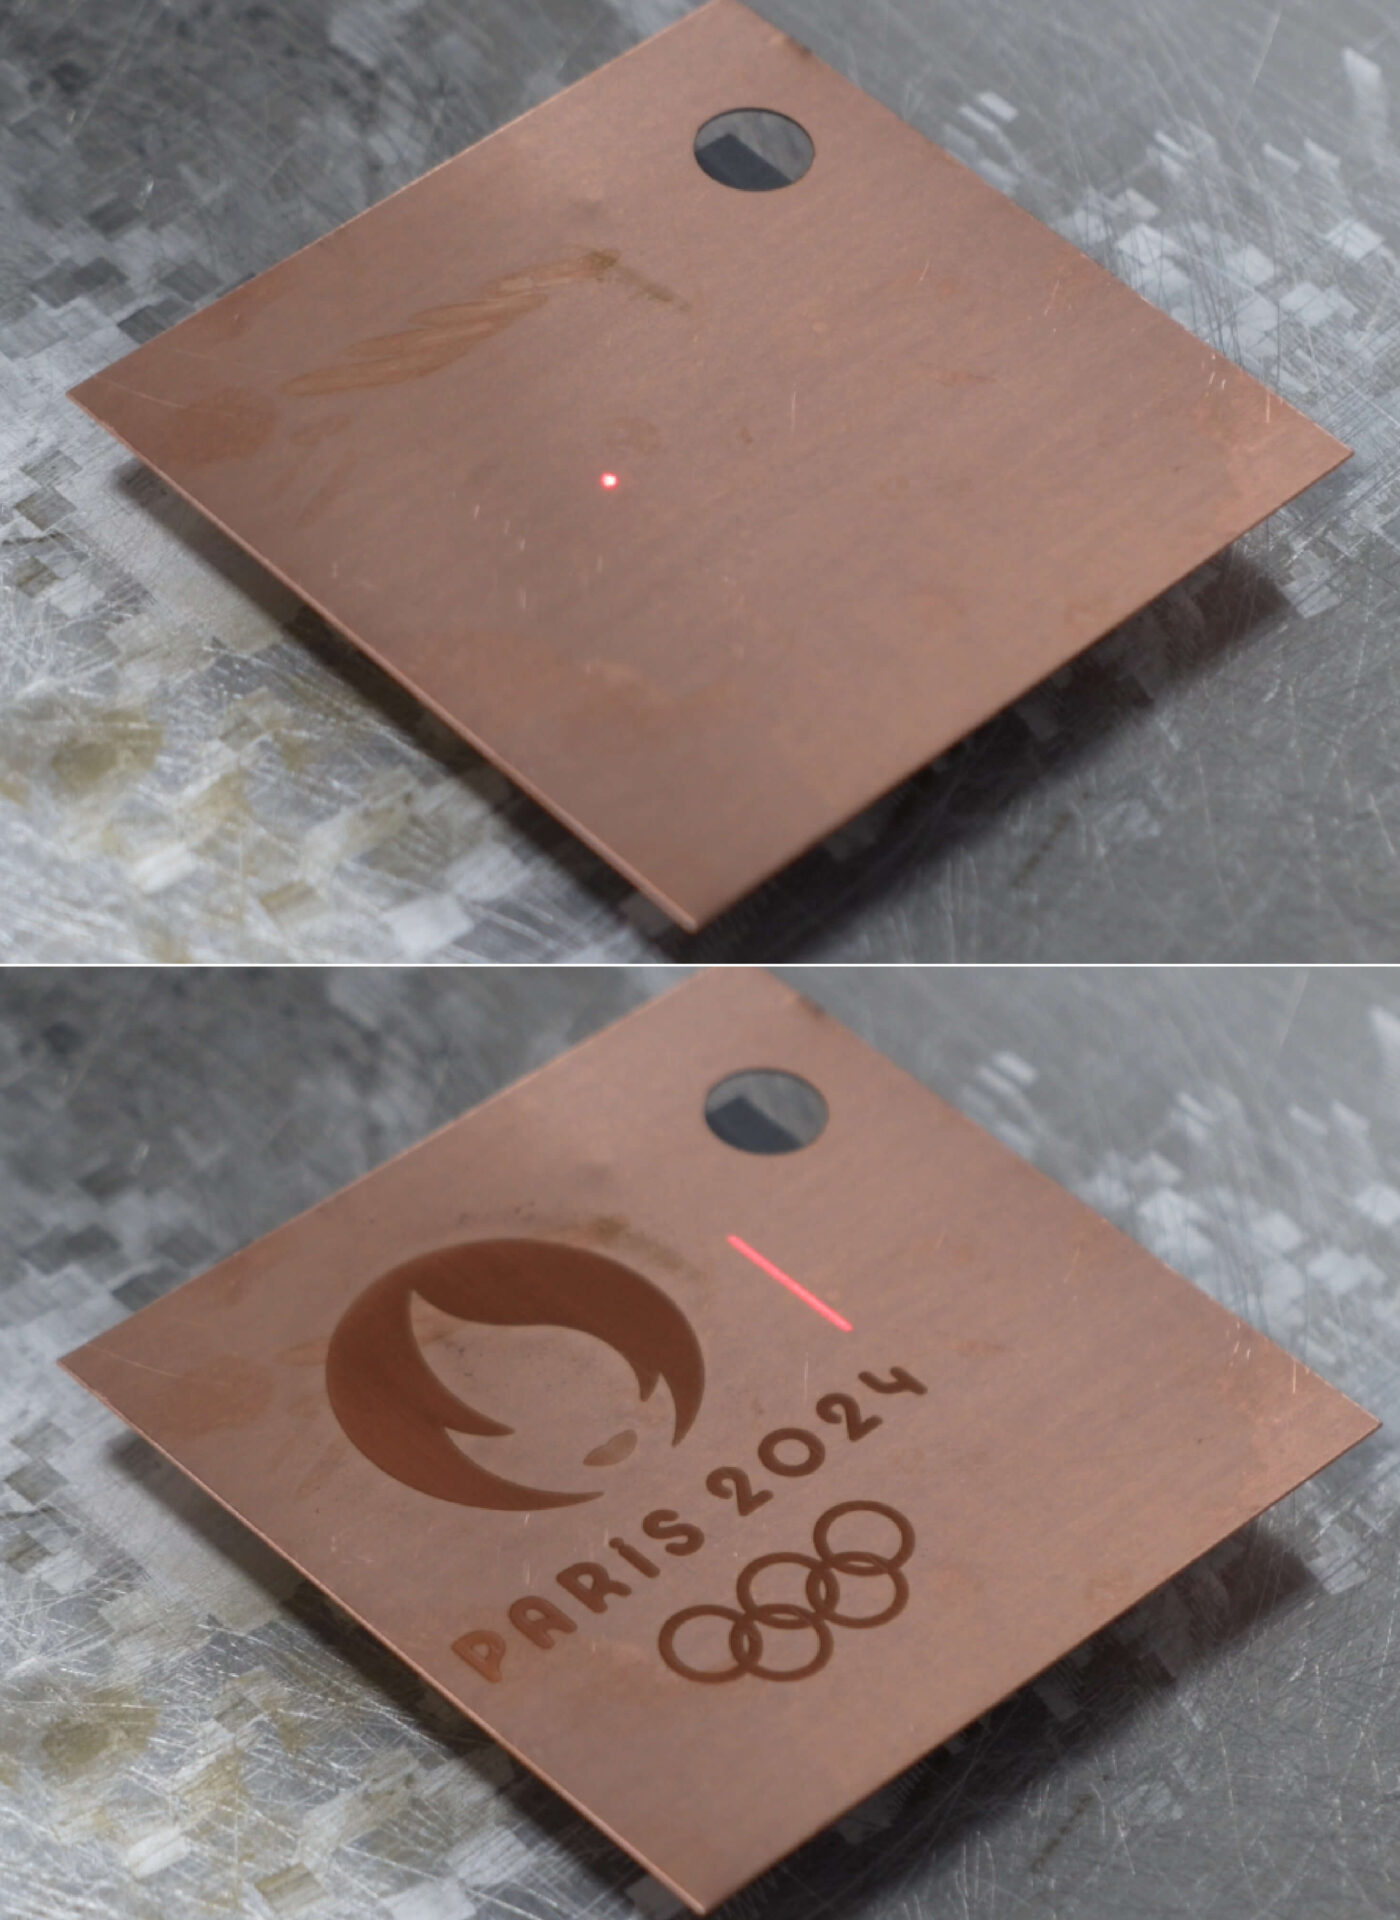
Laser engraving uses a high-powered laser to etch designs into a material’s surface. The laser works by either removing the surface material (engraving) or changing the surface color (marking).
There are different types of lasers used for engraving, with CO2 lasers and fiber lasers being the most common for metals.
- CO2 Lasers: Ideal for engraving non-metallic materials like wood, glass, and acrylic, but can also engrave metals with special coatings.
- Fiber Lasers: Best suited for direct metal engraving, especially on stainless steel, aluminum, brass, and titanium.
Choosing the Right Equipment
- Laser Engraving Machine: As a beginner, it’s essential to choose a user-friendly machine. For metal, fiber lasers are your best bet, but they can be more expensive than CO2 lasers. A CO2 laser can still engrave on some metals if the metal has a coating or you use a marking spray.
- Laser Power: Laser power is usually measured in watts. Beginners typically start with a 30W to 50W fiber laser for small-scale projects. Higher power lasers (100W and above) are suitable for larger or thicker materials.
- Software: Engraving requires design software (like CorelDRAW, Adobe Illustrator, or specific machine software like LightBurn) to prepare the artwork. Ensure the software is compatible with your laser engraver.
Prepare the Metal Surface
Before engraving, the surface of the metal needs to be prepared:
- Clean the Surface: Use a mild cleaner or isopropyl alcohol to remove dirt, oils, or any coatings. A clean surface ensures more consistent results.
- Coated Metals: If you’re working with bare metal (e.g., stainless steel), a fiber laser will usually engrave directly. For uncoated metals, use a laser marking spray to apply a coating that reacts with the laser to produce contrast. Common sprays include Cermark or TherMark.
Set Up the Laser Engraver
- Focus the Laser: Ensure the laser is properly focused to the correct focal length for the material you are engraving. This is crucial for getting clean, crisp engravings.
- Material Positioning: Place the metal on the engraving bed and make sure it’s stable. Most machines come with a Z-axis adjustable platform to help achieve the correct focus.
- Adjust Power and Speed: Start with lower power and higher speed settings and adjust as needed. The speed determines how fast the laser moves, and the power controls how deep or intense the engraving will be. For beginners:
- Speed: Start with about 50-70% of the maximum speed.
- Power: Set it to 30-50% power.
Test your settings on a small piece of scrap metal before committing to the final design.
Create Your Design
- Design Software: Import your artwork into the engraving software. If you’re new, it’s best to start with simple designs such as text or basic shapes to get the feel of the machine.
- Convert to Vector: Make sure your design is a vector file (like SVG, DXF) for precise control over engraving paths. Raster files (like PNG or JPG) can also be used but may produce a less precise result.
- Set Engraving Parameters: In the software, adjust settings for engraving depth, contrast, and speed based on the metal you’re working with.
Test and Fine-Tune
Test the engraving on a sample piece of metal to make sure the settings are correct. If the engraving is too light, increase the power or decrease the speed. If it’s too deep, decrease the power or increase the speed.
Engraving Process
Once you’re satisfied with the test, start the engraving process. The laser will etch your design into the metal. Depending on the settings and material, the engraving can take anywhere from a few seconds to several minutes.
Post-Processing
After engraving, you may need to clean up the design:
- Clean the Metal: If you used a marking spray, clean the surface with water or a cleaner to remove any residue.
- Polishing: Some metals may need polishing to achieve a shiny finish.
Safety Tips
- Protect Your Eyes: Always wear protective eyewear specifically designed for laser operation to prevent eye damage from the intense laser light.
- Ventilation: Ensure you have adequate ventilation in your workspace to dissipate any fumes from the engraving process.
- Avoid Flammable Materials: Be mindful of your surroundings and ensure that no flammable materials are nearby while the laser is in operation.
Common Metal Types for Beginners
- Stainless Steel: A popular choice because it provides excellent contrast with fiber lasers.
- Aluminum: Can be engraved, but may require the use of a marking spray or special settings.
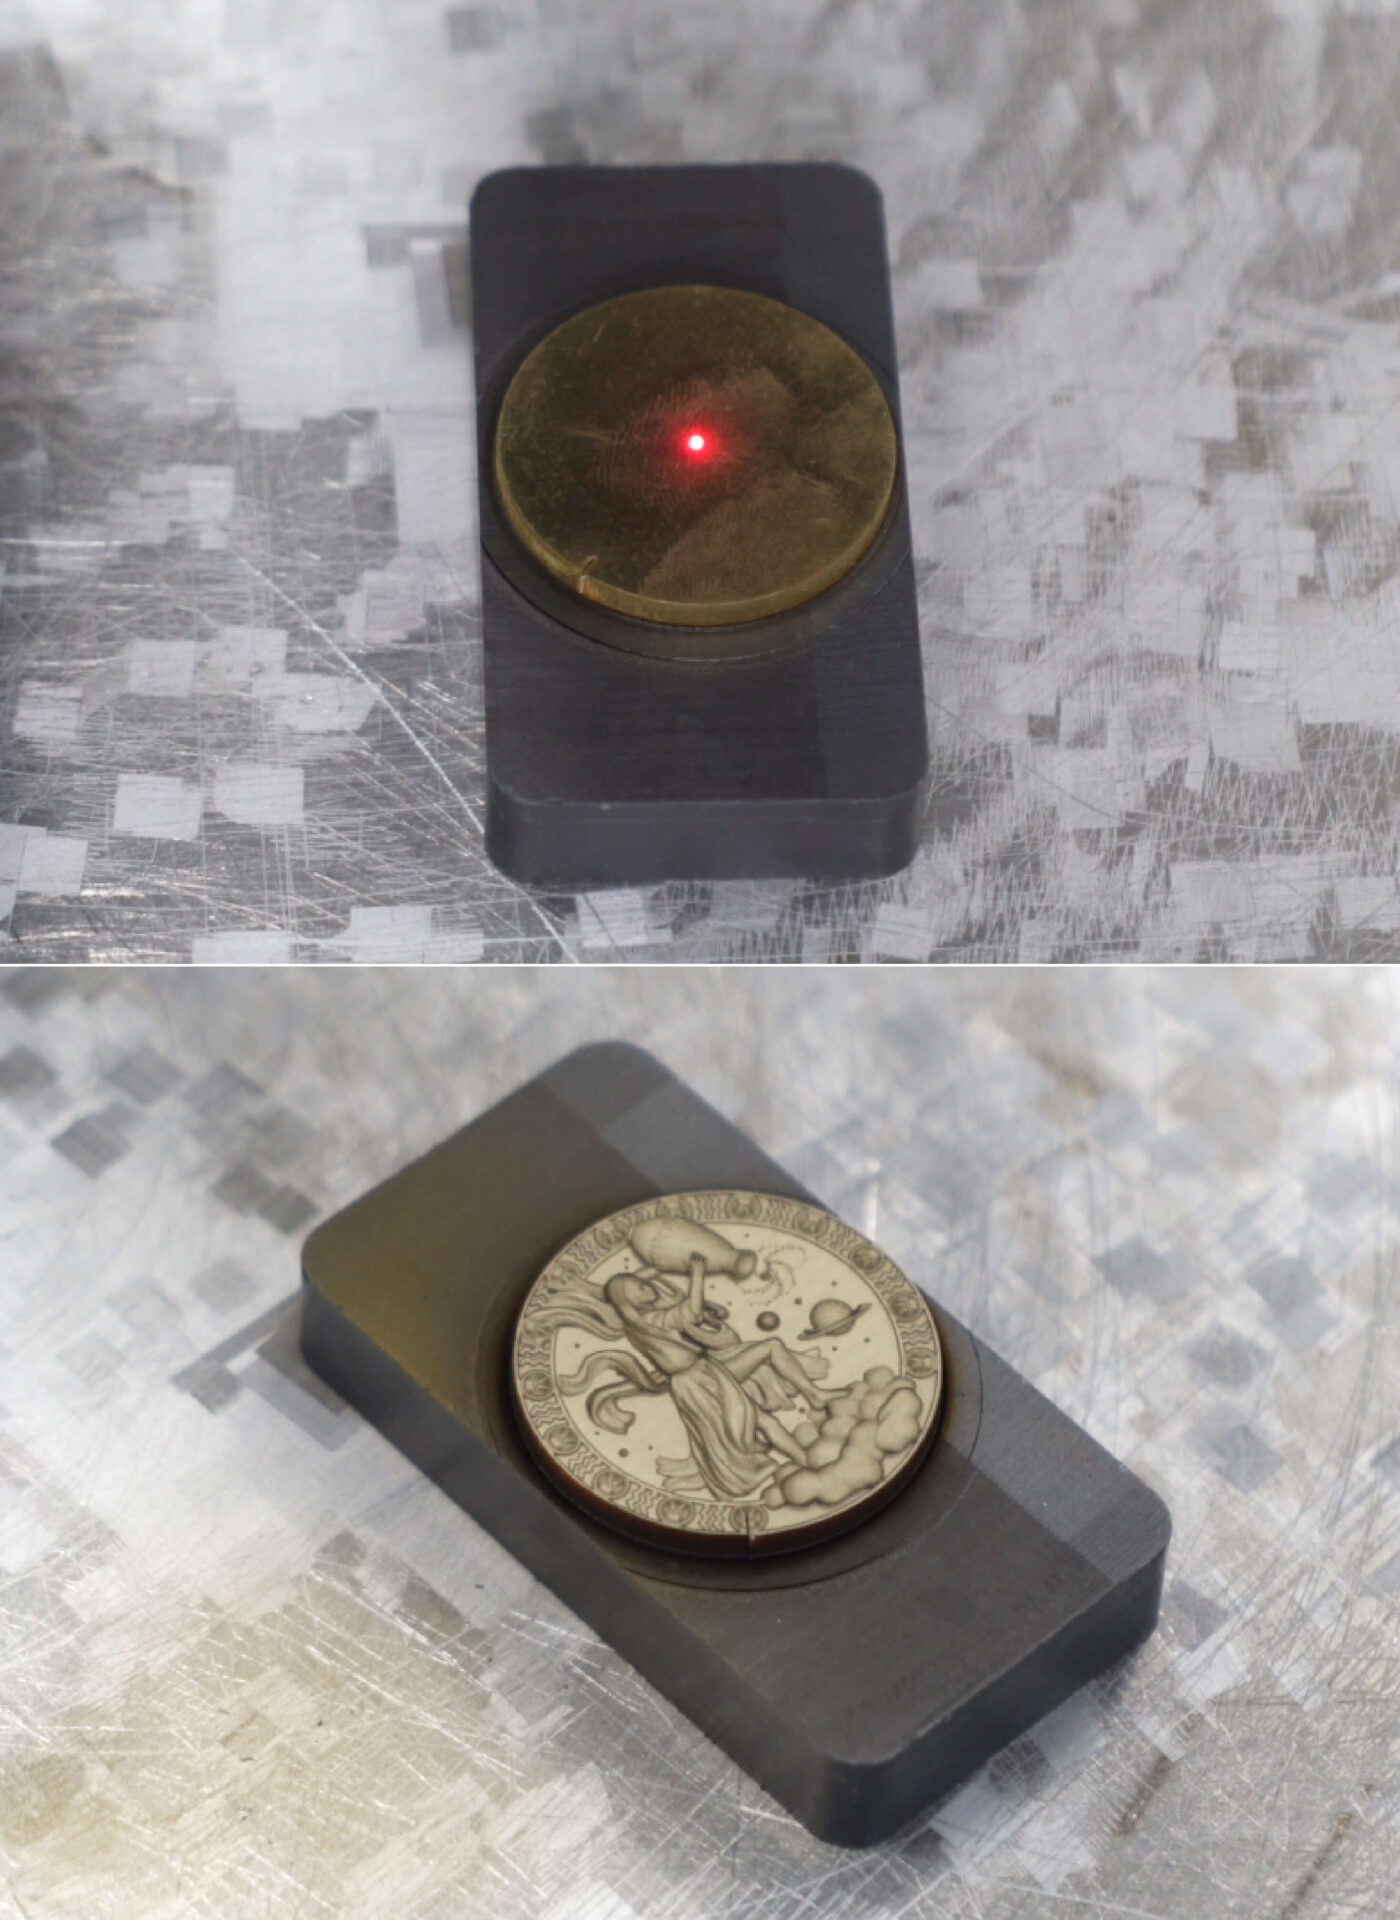
- Brass: Works well with fiber lasers and can create beautiful results with deep engraving.
- Titanium: Can be engraved to create very durable markings.
Practice and Experiment
Laser engraving takes practice, and the more you experiment with different settings, materials, and designs, the better your results will become.
By starting with simple designs and following these steps, you’ll quickly get a feel for the process and improve your skills over time.